|
Update (7/5/22): My book cover shingles sadly did not survive the New England winter. I've refinished my roof with weatherproof vinyl stickers and it looks amazing! Check back for a link to the NEW process post soon.
The pandemic has taken a lot from us and one of the ways I did self-care was to work on my Little Free Library project. I posted last year my reasons for wanting one and why I decided to make it focused on BIPOC authors and illustrators of children's literature. Now it is 2021 and the library is close to being ready! I wanted to give an update on the process I used to build this library.
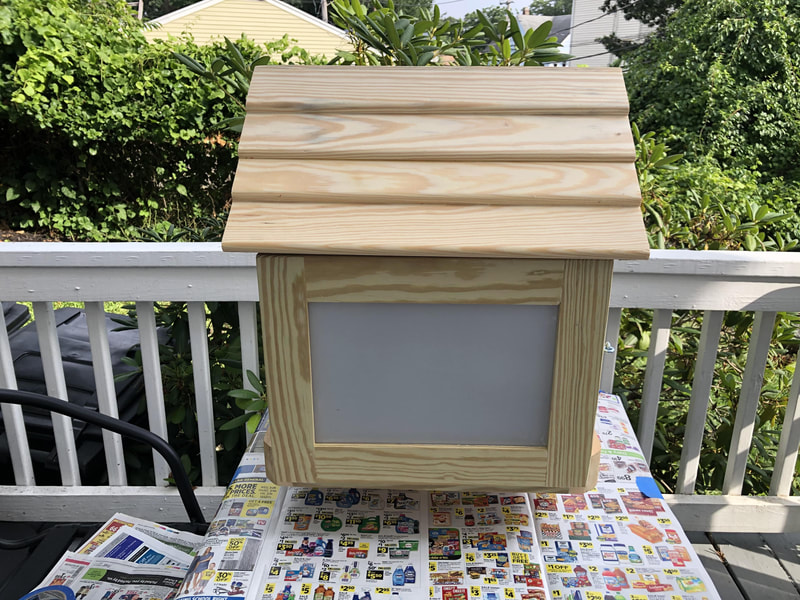
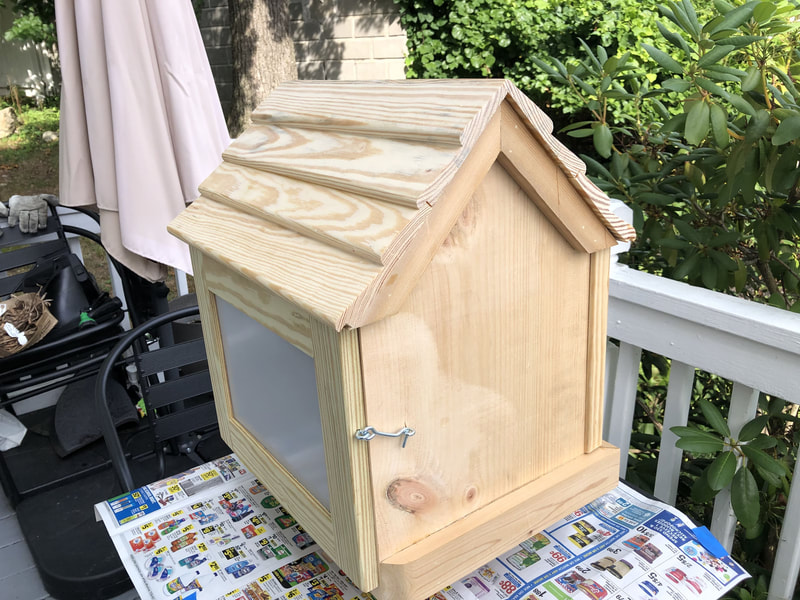
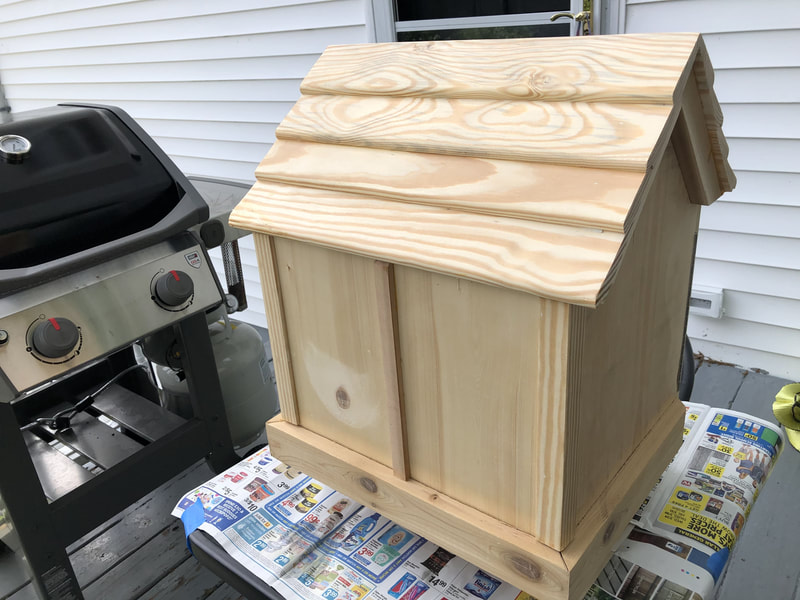
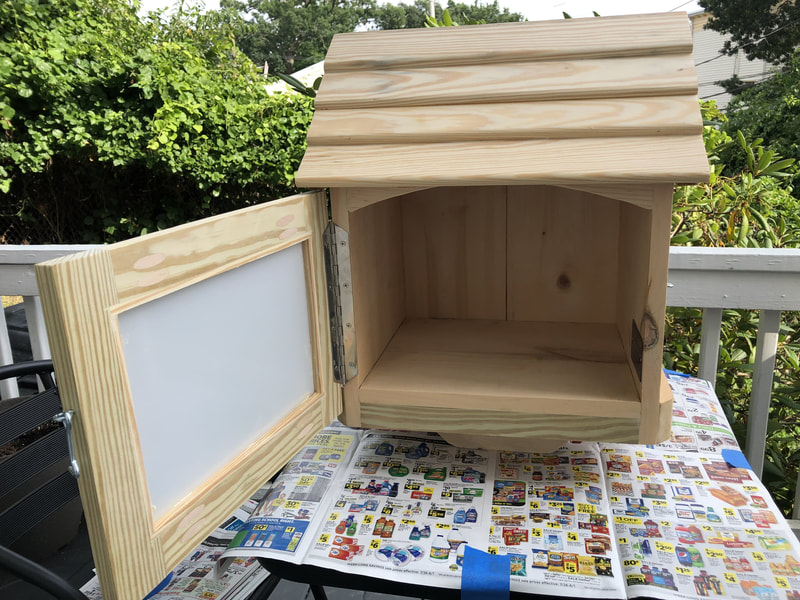
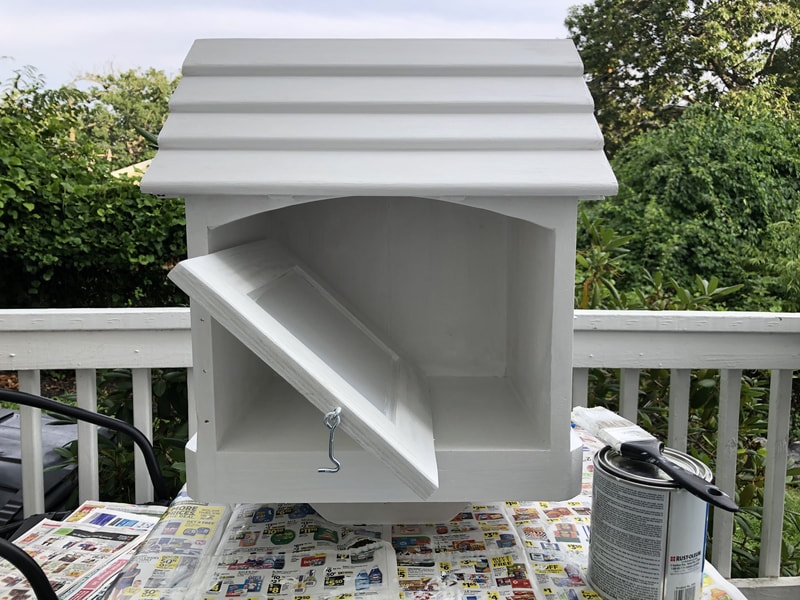
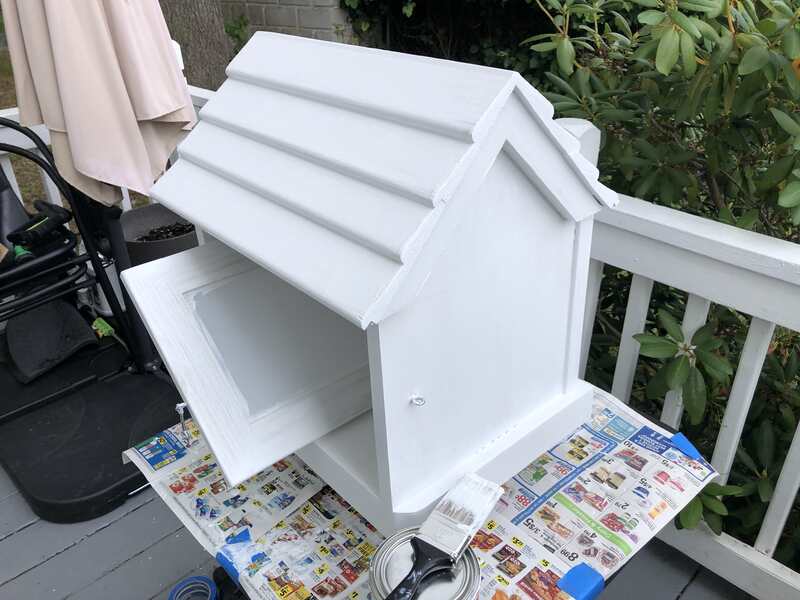
I started with a library I purchased through Etsy from the seller WalltoWallWoodworks. When the library arrived, it was a blank canvas! I painted it with a white exterior primer to start.
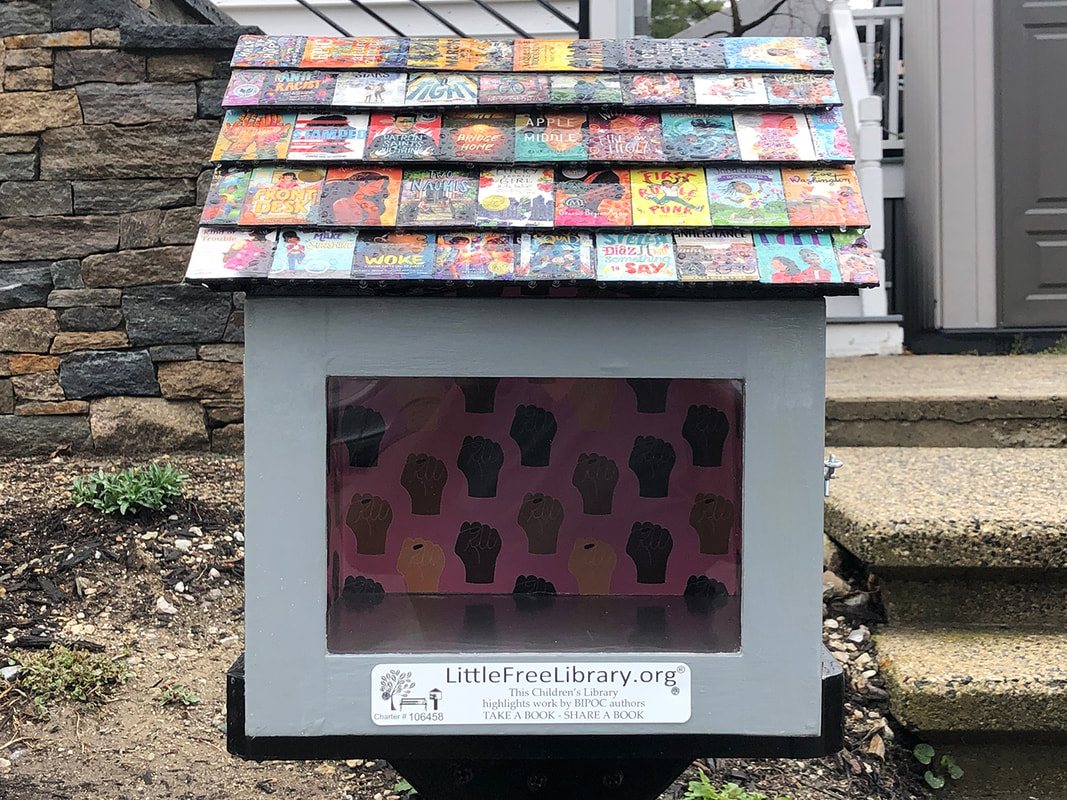
I went through a few color ideas, initially adding some rainbow colors like purple, blue, and orange, but settled on putting the interest in the shingles and the inside, and painting the library a light gray with black trim.
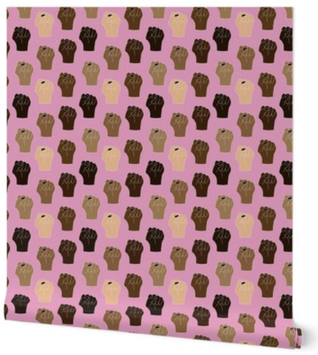
For the inside, I chose a wallpaper from Spoonflower created by Black designer @AshleySummerDesign. It has a nice durable texture and inspires thoughts of solidarity and support for Black Lives Matter and BIPOC people.
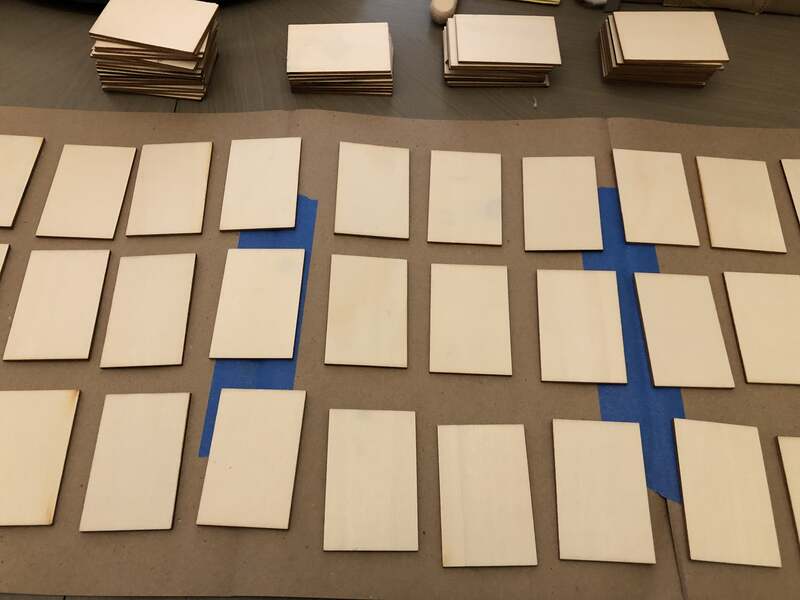
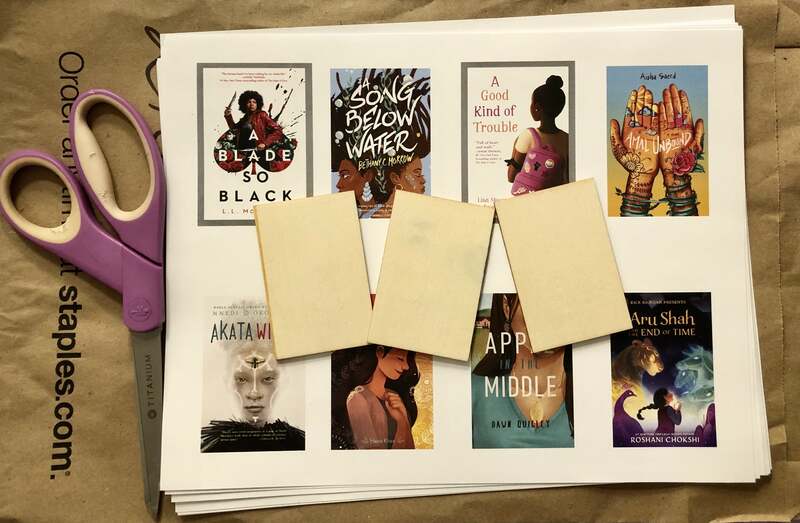
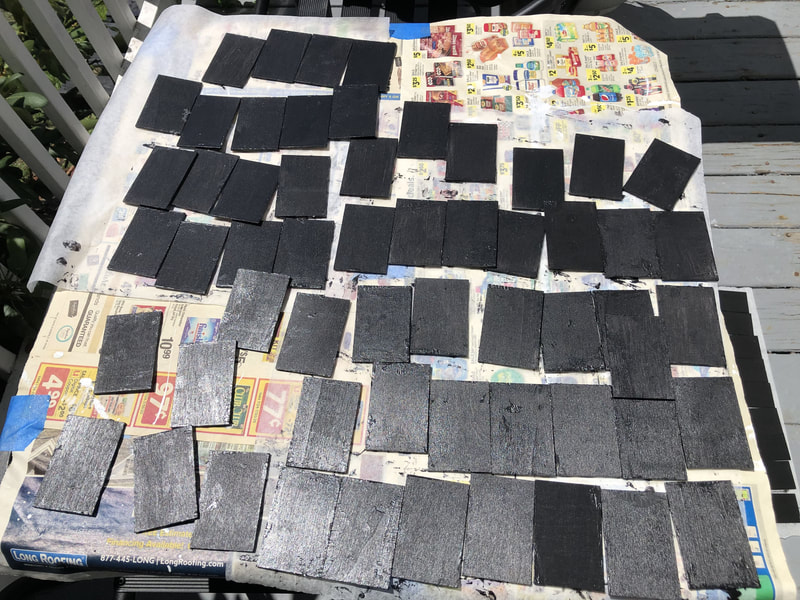
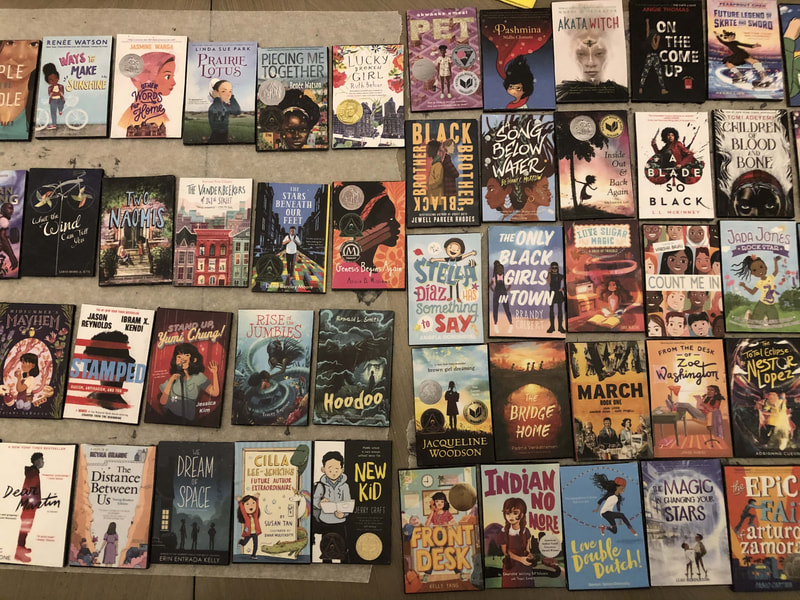
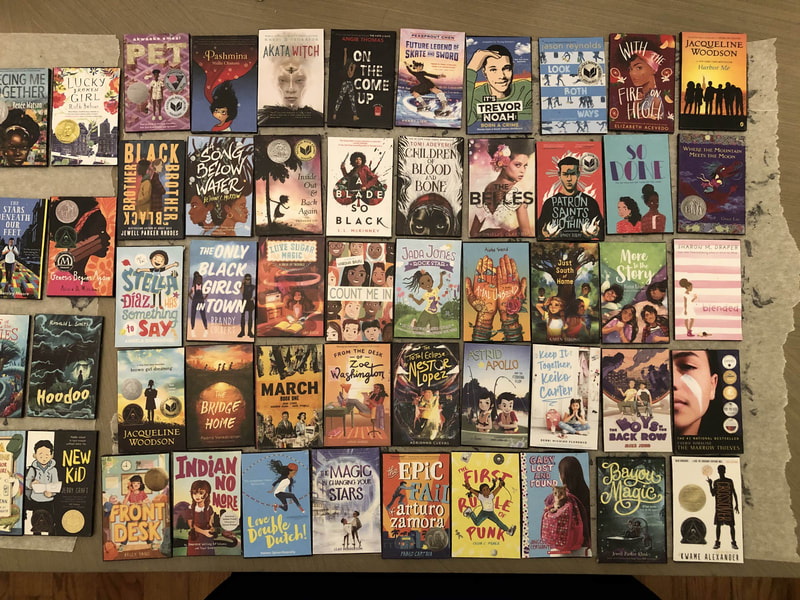
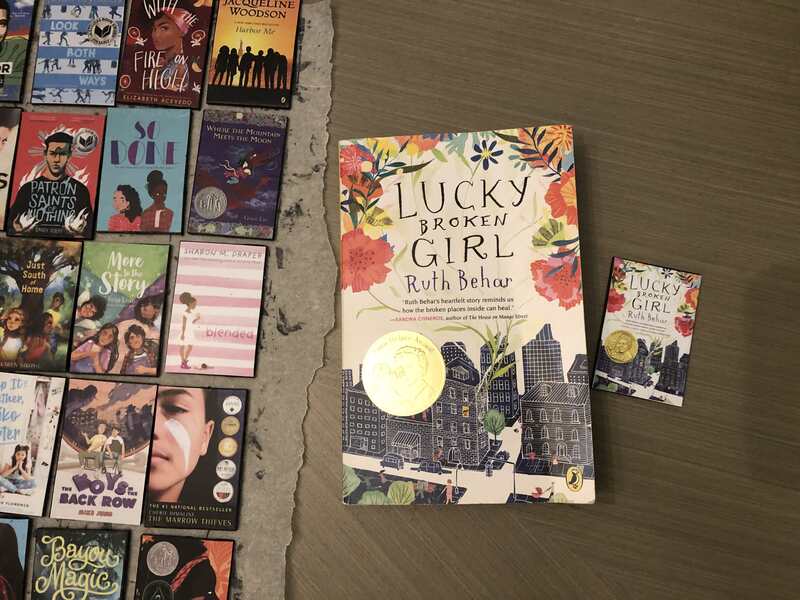
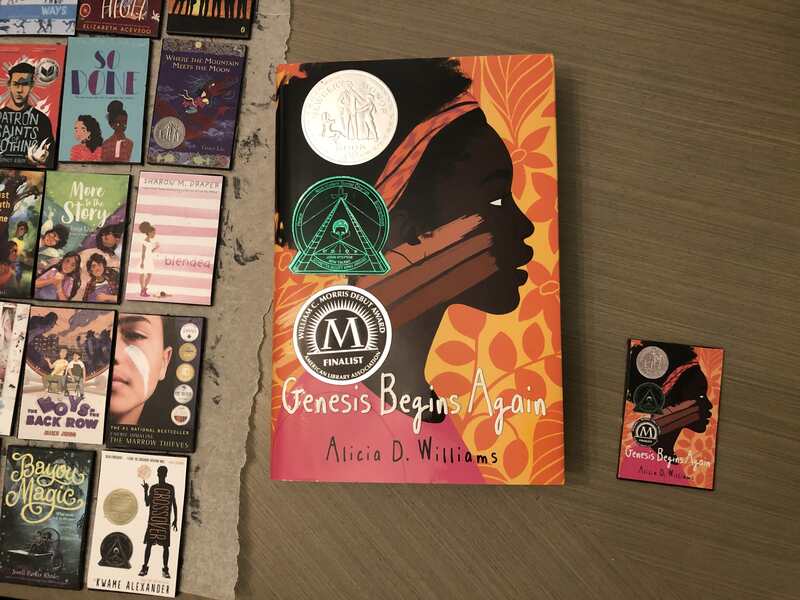
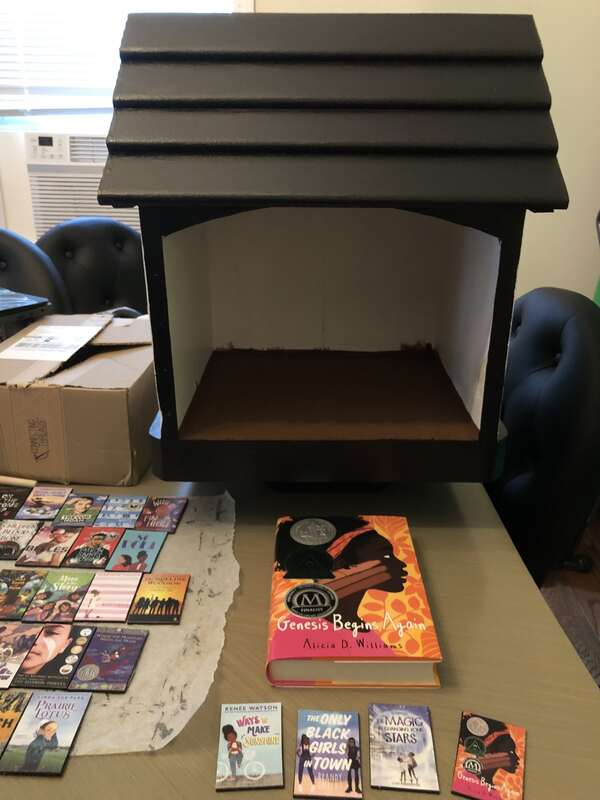
Speaking of the shingles, here is the process I used. I bought 2x3 craft wood pieces and used my Photoshop skills to size the book covers I selected to that size. I had the sheets laser printed at my local Staples. I then painted the wood on both sides with an exterior black paint to make sure that it would be protected from the elements.
Afterwards, I got to cutting and glueing. I glued each cover on a piece of wood using Mod Podge and then painted the paper with the glue a few more times, being careful to cover the edges of the wood. It looked great when done, but I knew I'd need more protection as Modge Podge, even the outdoor formula, isn't completely waterproof.
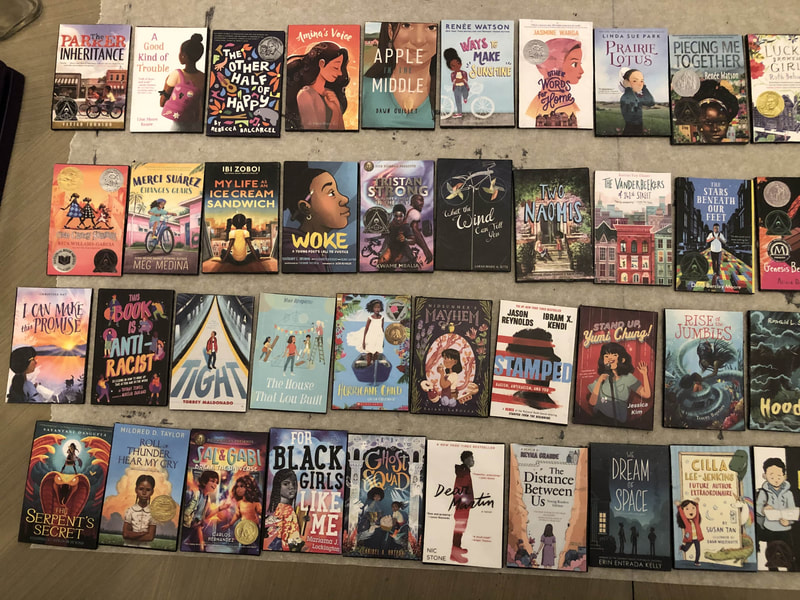
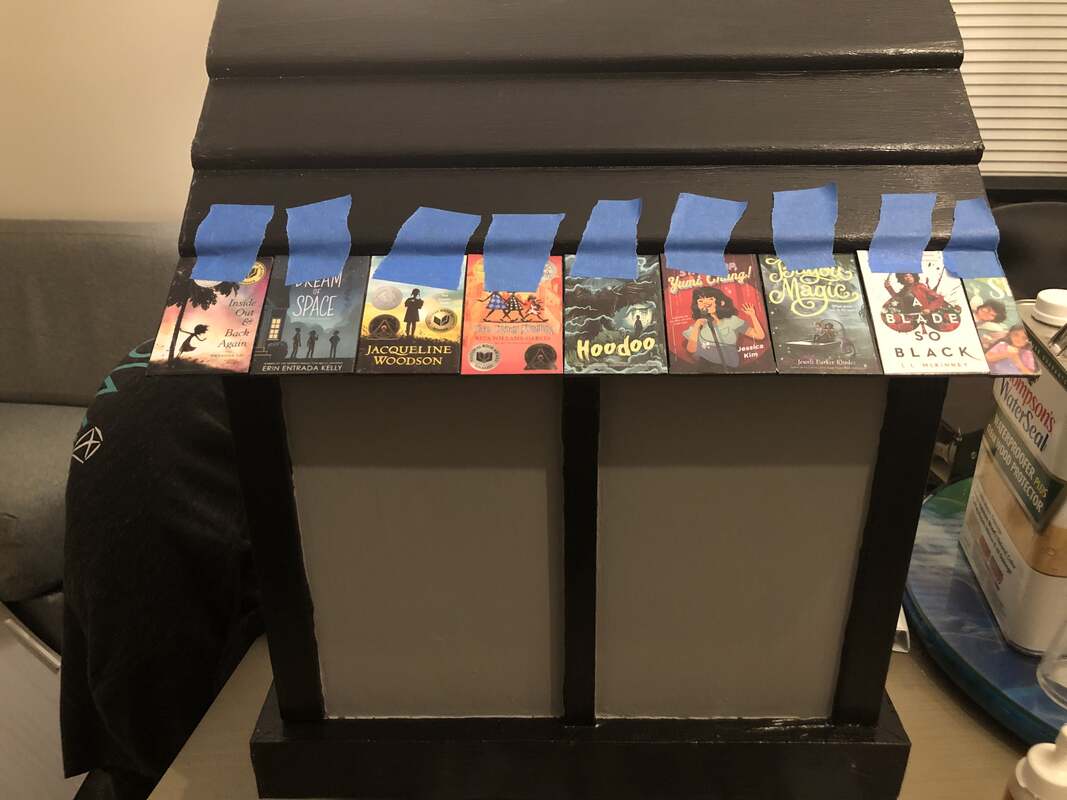
I decided on which books I wanted to be on the front and which on the back. It was heartbreaking to have a few leftover that I had to leave off all together. I tried to alternate colors, lights and dark, and taped each row to the library first with painter's tape. After they were placed, I securely glued each down with Gorilla Glue. For the edges, on each row I had to cut one cover in half, but I used the other half on the back side of the library. On the subsequent rows, I alternated the placement to get a staggered effect.
Lastly, I decided that applying an epoxy resin would be the most sure way to ensure the shingles were waterproof and it would also add a glossy shine to them. I used a self-leveling craft epoxy and with the library tilted so the front or back would be parallel to the floor. Epoxy takes 24 hours to set and 72 hours to cure. I did each half of the roof separately, then sanded the entire thing to roughen the surface, then re-applied a second coat of epoxy. It's not perfect, but it looks good overall and the inconsistencies are hardly noticeable.
Here's a tour of the final results! It's been almost a whole year of work, but I'm very excited for it to launch soon. More details on that to come! how can you help?
For those that would like to support the work of this library, I have started a registry at my local Black-owned bookstore, Frugal Bookstore. You can select a book from the wishlist or choose another children's book from a BIPOC creator and I will be able to pick it up locally. Thanks so much for your support!
Comments are closed.
|
stay informedarchives
October 2023
categories
All
|
 RSS Feed